Organization & Project
Organization Setup
Once your account is verified and activated, an organization and your first project will be created.
-
Log in to the DevAssure account using your credentials or Google login.
-
Upon your first login, you'll be prompted to configure your organization details:
- Organization Name: Enter a name for your organization (e.g., "Your Company," "Project XYZ").
- Domain-Based Membership (Optional): Enable this option to automatically include users from your email domain in the organization.
-
Click Save to finalize the setup.
Update organization:
To update your organization's details, follow these steps:
- Click on the profile icon in the top navigation bar and select Settings from the menu.
- Select the organization tab.
- Update the organization name as needed.
- Additionally you can click on the checkbox, to automatically allow users from the same domain to join your organization.
Project
A project is created to organize and manage the users of an organization and testdata they have access to. An organization can own one or multiple Projects.
Once your account is verified and activated, an organization and your first project will be created.
Initialize a Project
After creating the project, the next step is to initialize it.
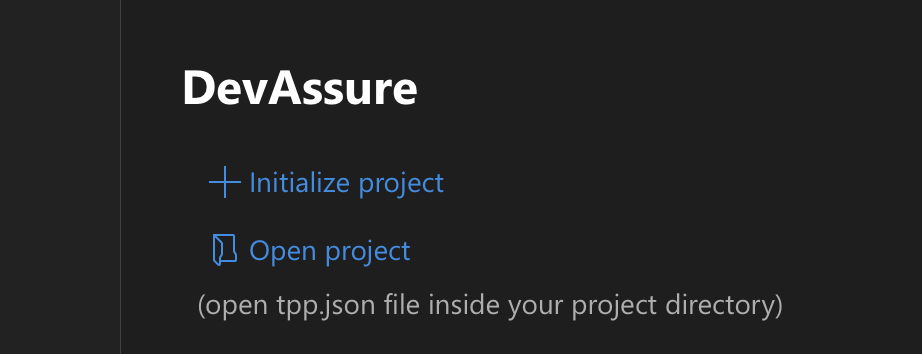
- Launch the DevAssure App.
- In the Welcome screen, click on Initialize Project
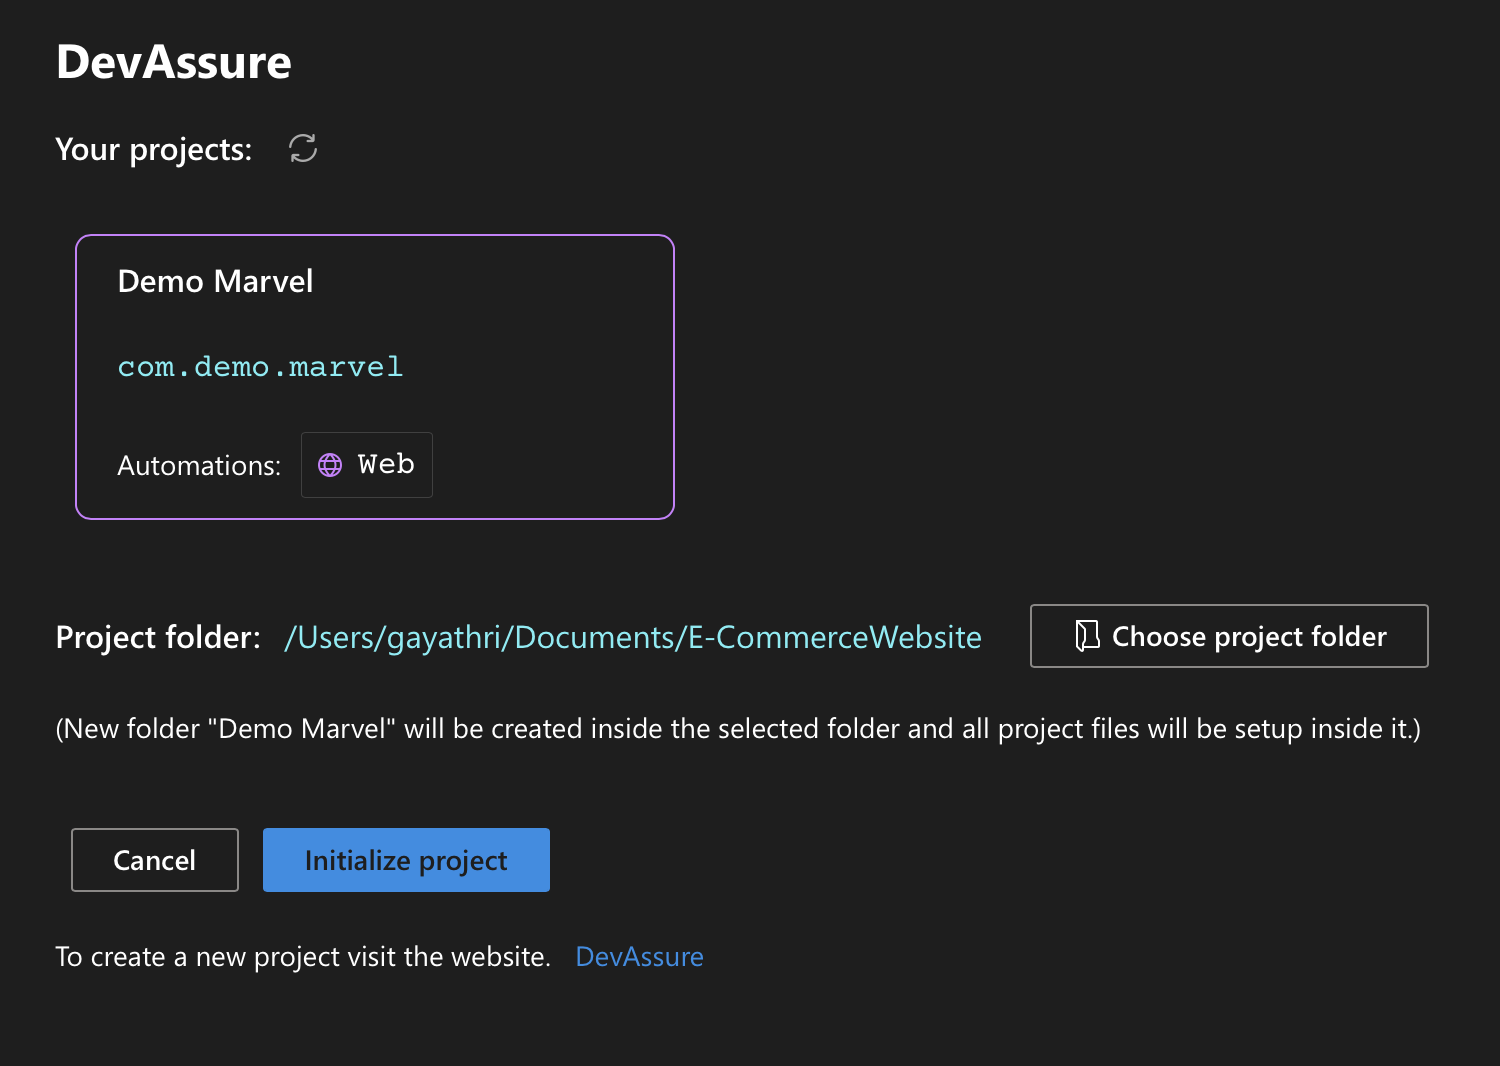
- Select the specific project you want to initialize for working with DevAssure.
- Select a suitable location on your system to store the project's files. It's recommended to save these files within your application's codebase to ensure seamless integration with your version control system (VCS).
-
A new folder, named after the project, will be automatically created within the chosen directory, and all relevant project files will be stored in this location.
-
Click Initialize Project. The project will then be listed in the explorer.
- Alternatively, users can initialize a Git repository directly within their DevAssure project folder to manage project files remotely.
-
Users are encouraged to store their files in their source control repository.
-
It is advisable to save files within the application codebase, promoting a shift-left testing approach and enabling automation to run concurrently with development code.
Open a Project
To open an already existing project:
- Click Open Project from home screen and select the project location from File explorer.
- Open tpp.json from the project directory and Click on Open Project
The projects that have been recently accessed will appear in the Recent Projects section.
Close a Project
To close a project, follow these steps:
- Navigate to Projects in the menu bar.
- Click on Close Project.